Featured in


TRENDING GUIDES

Gain complete control over the humidity in your home to manage moisture with one of these top-notch humidifiers.

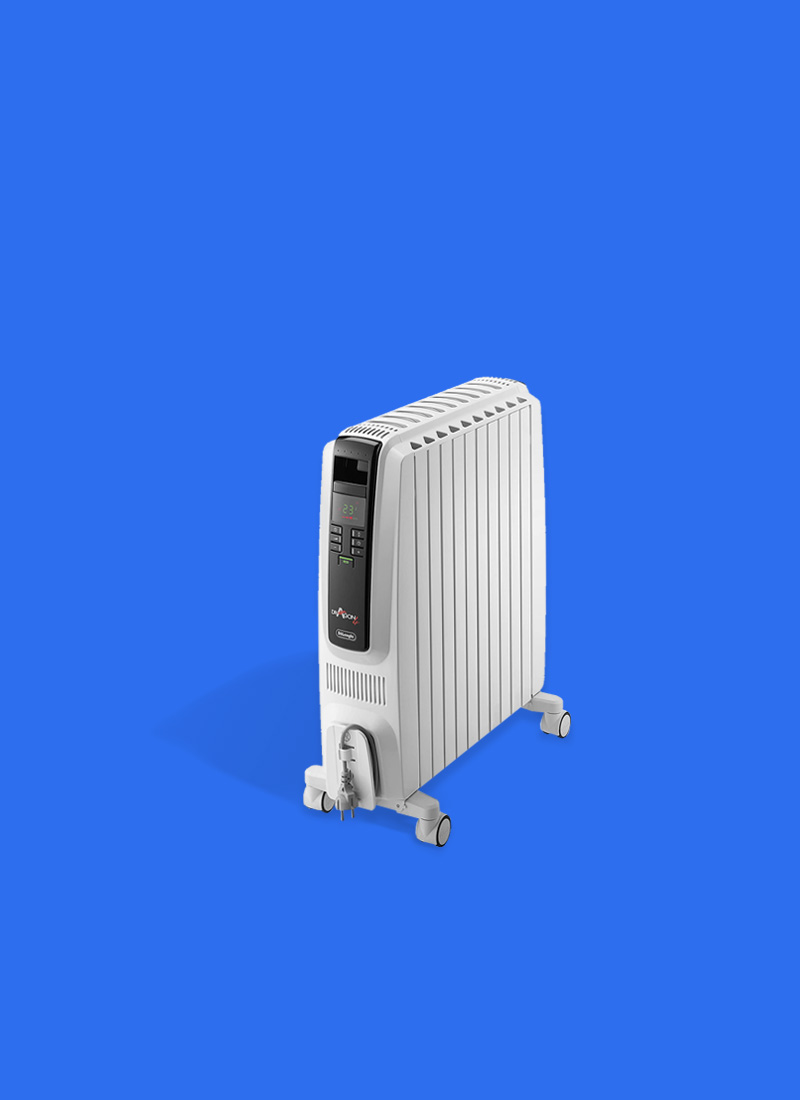
It gets colder than you remember during Winter here in Aus. Make sure you have the best electric heaters to keep you toasty.

Quickly improve the air quality in your home by capturing pollutants with one of these well-reviewed air purifiers.
LATEST GUIDES

Record the best videos and take quality photos using one of these top-ranking action cameras in Australia.

Easily create slideshows of your best moments using one of these top-quality digital photo frames.

Create more space on your desk and safely store your headphones using one of these top-rated headphone stands.

If you’re in the market for a graphic design table and want to test the wasters with something low cost but quality, then maybe give this review a read!